
All images that you want to appear on your websites pages or photo gallery page MUST be uploaded to your ‘Media Library’ first. Make sure your images are prepared and ready for 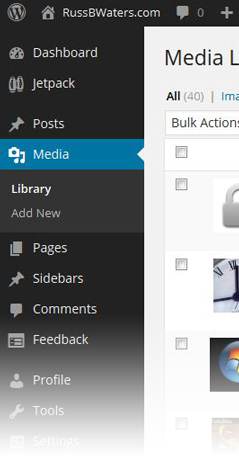 upload on your computer and click on the ‘Media’ link (under the Dashboard on the left-hand side). Click on the ‘Add New’ link and then click on the ‘Select Files’ button and navigate to the image(s) you want to upload from your computer and click ‘Open’ (you can select more than one image at a time by holding down the CTRL button on your keyboard and make your selections). Once you uploaded your image(s), it is now in your media library.
To add images to your pages, simply go to the page that you want add an image to, place your cursor and click where you want the picture to appear and click the ‘Add Media‘ button, then click on the image you want from your Media Library and click on the blue ‘Insert Into Page‘ button. To align your image to the right, left or center of your text, simply click on the image and you will see 2 icons – click on the mountain scene button and in the Alignment line, click the radio button of Left, Center or Right, depending on your preference. While you are in this section, if you don’t want to link this image to another page or another URL, delete everything in the ‘Link URL’ field. When you are done, click the ‘Update‘ button.
To delete an image, simply click on it and hit the ‘Delete‘ button on your keyboard or click on the red circle with the line through it. Remember to click on ‘Update‘ when you are done to save your changes.
*Your images should be optimized for web viewing or your pages will load slowly or if the quality or resolution is not correct, the images of your site will reflect the quality you upload.